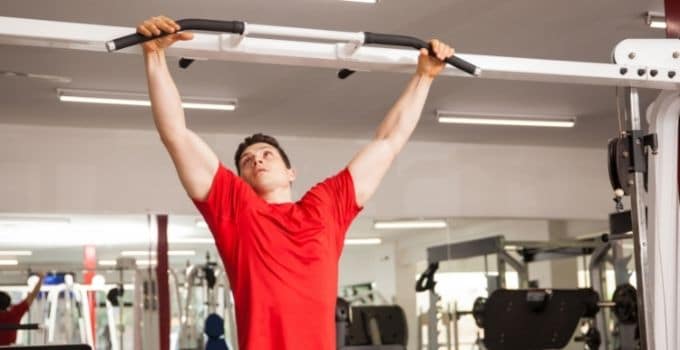
In the gym, strength is very important. If you’re doing pulling exercises, the grip is a necessity. The effort you put in will determine your success in resistance exercises.
Most people tend to think that they only need one type of grip strength, but this should not be the case.
Here is a breakdown of the different types of pull-up and pulldown grips and why you should mix them up.
Hand Positioning
Hand positioning is often overlooked, and when done correctly, it’s a great way to improve your overall strength.
Mixing them up in a workout routine or doing separate sessions for each grip is ideal to develop your muscles to their full capacity.
The 4 most important hand grip positions are the following.
1. Supinated Grip

The supinated grip or underhand is commonly the easiest grip to pull yourself. To do this grip you basically need to grab the bar with your palms facing you.
The reason why it might be easier to pull this way is that your biceps are more engaged which gives you that extra strength to do the pulling movement.
Having said that, there are people that might have under develop biceps and could actually have a harder workout with this grip.
In calisthenics, this is known as the chin up, and in the gym, you´ll hear it as the supinated lat pull down.
2. Pronated Grip

The pronated or overhand grip is common in resistance training. This is usually known as the regular pull-up or as the lat pulldown.
In the pronated grip, when you grab the bar, your palms should be facing outward.
Doing this small change in your exercises will increase the engagement in your forearms and your lats.
If you want to build a stronger back, this should be your go-to grip.
3. Neutral grip

With a neutral grip, the angle allows your rhomboids to get higher engagement and at the same time, you should reduce strain on your shoulders.
If done with the rings, you´ll get the additional benefit of balance and coordination.
To perform the neutral grip, you will actually need to have parallel bars or invest in rings since a straight bar won’t let you perform this grip.
4. False Grip

The false grip is a more advanced grip that is used in calisthenics to achieve a muscle-up.
It gives you a mechanical advantage and more leverage over the rings and bar when you are trying to pull yourself over them.
The difference with the pronated grip is that your thumbs go over the bar and not under. This way you will be able to rotate your wrists when your chest passes the bar or rings.
Arm Width Positioning

Once you dominated your hand positioning, your arms should be the next step to adjust.
The wider the grip the harder it should get. This is because you are getting less help from your forearms and biceps.
5. Shoulder Width Grip
The shoulder width is the most common arm width positioning and should be the one you should start with as a beginner.
This grip is the most ergonomic since it balances out your weight throughout all the pulling movements.
Usually, when you increase or decrease the width, your joints are the ones that need more strength.
6. Wide Grip
A wide grip targets the lats but at the same time, it increases strain on your shoulders. If you are able to include a wide grip in your exercise routine, you give your muscles a fantastic workout.
The best way to perform a wide grip is by placing your arms at 30-45 degrees. When positioned correctly, the arm should form a letter Y.
If performing a wide grip is too much for you, you can use a weight-assisted machine.
The benefit of this is that the exercise becomes easier to perform. You can also wear a belt or hold a dumbbell by candling it between your feet.
7. Close or Narrow Grip
The close-grip pull-up is great to improve your core strength when doing pull-ups. If you have deficiencies in your core you’ll notice it in this grip because you’ll have a harder time balancing.
Doing the lat pulldown won’t have the same effect since you are sitting down.
To perform the narrow grip pulldown, you should establish a strong base. You should place one foot on the floor and retract the shoulder blades. Next, lower the barbell, so you don’t lose tension on the upper back or let the elbows flare out.
As you lift the weight, you should press yourself deeper into the bench. This helps to maintain rigidity on the posterior side of the body.
Final thoughts
Pulling exercises are essential to building a bigger back and stronger biceps. Knowing the right grips and positioning will help you target different muscles and make the workout more dynamic.
Once you learn how to perform all the pulling grips, the feeling of accomplishment is amazing.
Some of the pull-ups can be challenging, so you must focus on the natural progression of movement.
You can switch the grips and play around to see which feels best. Remember to always listen to your body.